Composting at home is a great way of reducing wastes, enriching garden soil, and making the planet a healthier place. Turning organic waste into nutrient-rich compost gives you a sustainable cycle of growth and nourishment for your plants. This guide will walk you through the step-by-step process of composting at home, whether you are a gardening enthusiast or a beginner.
What Is Composting?
Composting is the natural process of recycling organic materials, such as food scraps and yard waste, into a rich soil amendment known as compost. Microorganisms, insects, and fungi break down the organic matter in the presence of oxygen, transforming it into a dark, crumbly substance teeming with nutrients.
By composting, you reduce landfill waste, lower greenhouse gas emissions, and create a free, eco-friendly fertilizer for your garden.
Step 1: Pick Your Composting Method
First, choose the best composting method for your space, lifestyle, or needs. There are four common methods:
Outdoor Composting
- Good for people with a backyard or at least a garden.
- Needs a bin or a compost pile in an area outside.
Indoor Composting
- Good for apartment dwellers or someone who has limited outdoor space.
- Uses small bins, preferably with a lid that controls the stench.
Vermicomposting
- This composting uses worms to break down organic waste.
- Great for indoor use and produces nutrient-rich worm castings.
Bokashi Composting
- A fermentation-based method that uses a special bran to break down food waste.
- Works well for all types of food scraps, including meat and dairy.
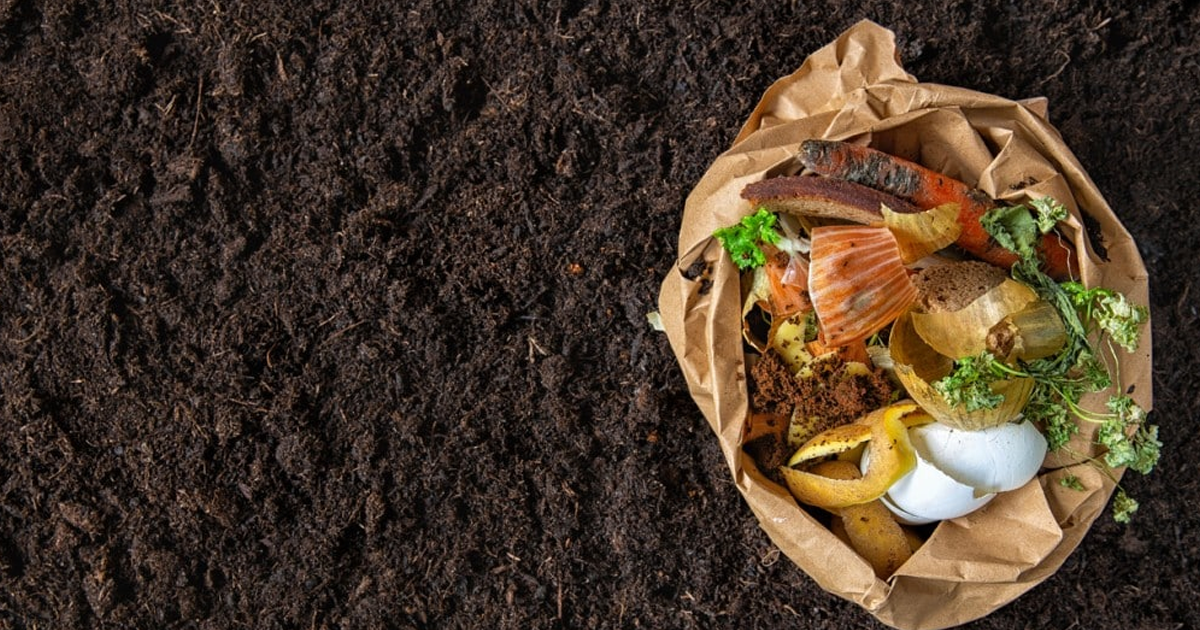
Step 2: Gather Your Materials
To create a successful compost pile, you need a balance of “greens” and “browns.”
Greens (Nitrogen-rich materials):
- Fruit and vegetable scraps
- Coffee grounds and tea bags
- Grass clippings
- Fresh plant trimmings
Browns (Carbon-rich materials):
- Dry leaves
- Straw and hay
- Shredded newspaper and cardboard
Wood chips and sawdust
- Do not include the following in your compost
- Meat, fish and dairy products – unless using Bokashi
- Greasy or oily foods
- Pet waste
- Diseased plants
- Materials that are non-biodegradable, such as plastic or glass
Step 3: Choosing Your Composting Location
Location of your compost system can influence its efficiency a lot. Choose the following
Outdoor Composting: Prefer a shady area with good drainage near a source of water.
Indoor Composting: Use a bin with a tight-fitting lid and place it in a convenient location, such as under the sink or on a balcony.
Vermicomposting: Keep the worm bin in a cool, dark place, such as a basement or garage.
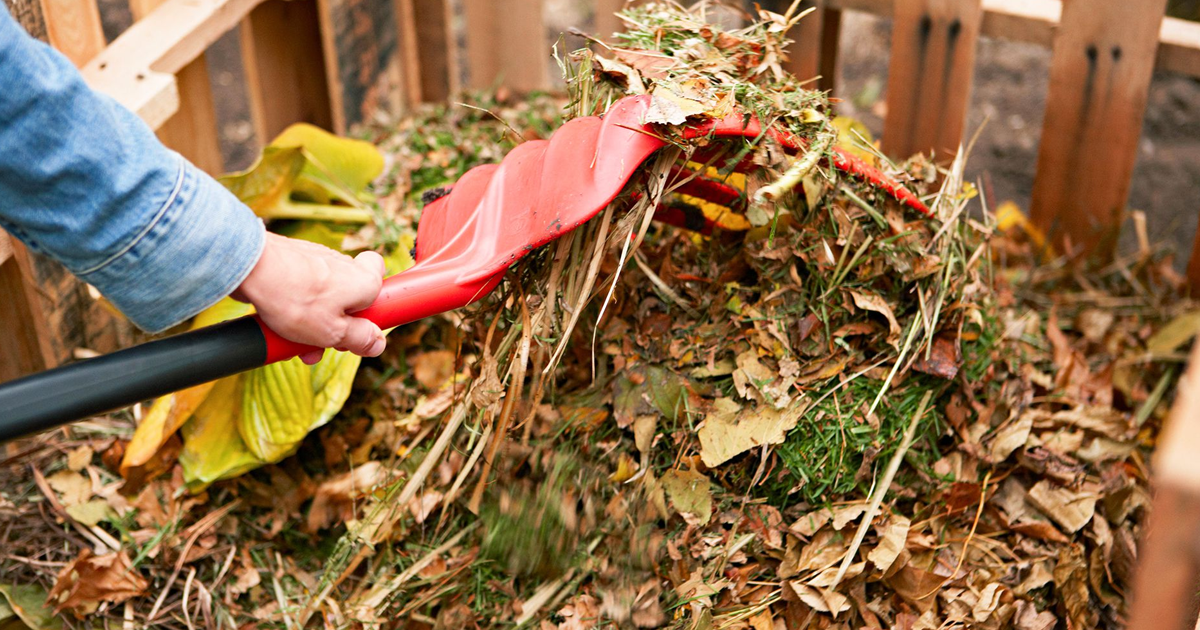
Step 4: Build Your Compost Pile or Bin
For Outdoor Composting:
- Start with a layer of coarse browns, like twigs or straw, to aid aeration.
- Alternate layers of greens and browns, approximately 2 parts browns to 1 part greens.
- Moisten each layer lightly so the pile is not soggy or dry.
Indoor Composting:
- Use a compost bin that has adequate ventilation.
- Add in small, alternating layers of both greens and browns.
- Shred or chop materials to enhance decomposition.
Vermicomposting:
- Line the bottom of the bin with moist newspaper.
- Add bedding material: shredded paper or coconut coir.
- Introduce composting worms (red wigglers work best).
- Feed the worms small amounts of food scraps, burying them under the bedding.
Step 5: Maintain Your Compost
Proper maintenance ensures your compost breaks down efficiently and stays odor-free. Follow these tips:
Turn the Pile:
- For outdoor compost, use a pitchfork or shovel to mix the pile every 1-2 weeks. This aerates the pile and speeds up decomposition.
- Indoor and vermicomposting systems require minimal turning.
Monitor Moisture:
- The pile should be like a damp sponge-not too dry or too wet.
- Add water if it’s dry, or mix in dry browns if it’s too wet.
Balance Greens and Browns:
- Too many greens can make the pile slimy and smelly.
- Too many browns can slow down decomposition. Adjust the ratio as needed.
Check Temperature:
- A healthy compost pile heats up as microorganisms work. Aim for a temperature between 135°F and 160°F.
- If the pile cools down, add more greens or turn it to reintroduce oxygen.
Step 6: Harvest Your Compost
Compost can take anywhere from 2 months to a year to fully mature, depending on the method and conditions. Here’s how to know it’s ready:
The compost is dark and crumbly, with a pleasant earthy smell.
Original materials are no longer recognizable.
To harvest:
Outdoor Composting: Sieve the compost to remove any large, undecomposed pieces. Return these to the pile for further breakdown.
Indoor and Vermicomposting: Remove finished compost from the bottom of the bin and replace bedding as needed.
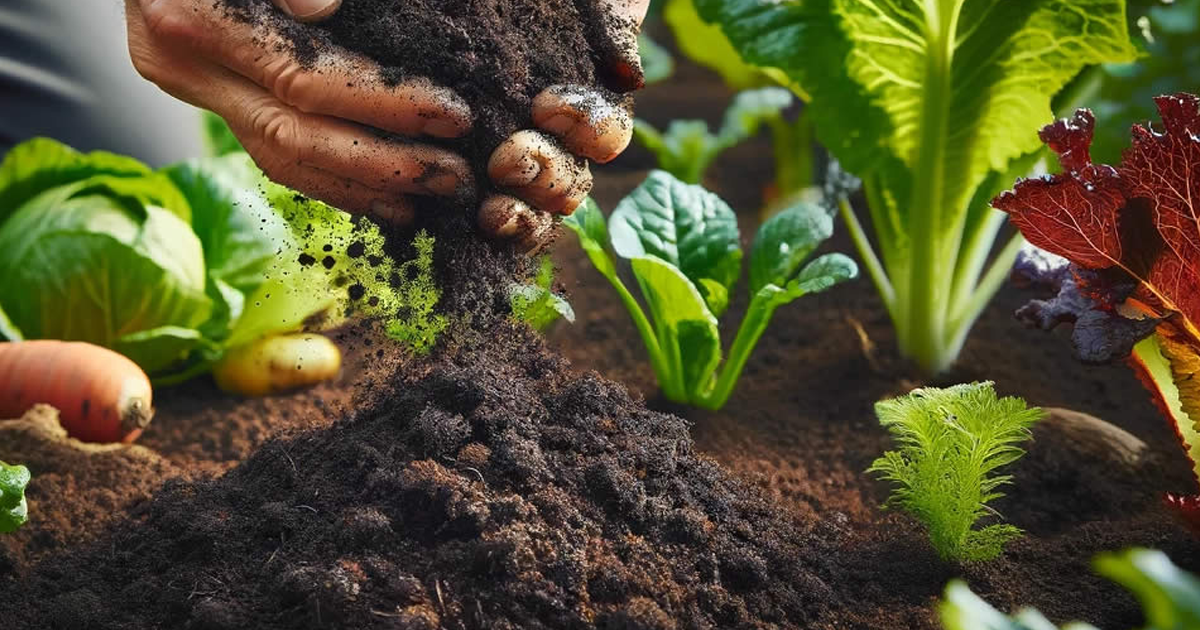
Step 7: Use Your Compost
Your finished compost is a versatile soil amendment that can be used in various ways:
In the Garden:
- Mix compost into garden beds to improve soil structure and fertility.
- Use it as a top dressing around plants to retain moisture and suppress weeds.
For Potted Plants:
- Mix compost with potting soil to increase nutrients.
As Mulch:
- Apply compost around trees and shrubs to keep roots warm and minimize evaporation.
In Lawns:
- Apply a thin layer of compost to your lawn to promote grass growth.
Troubleshooting Common Composting Problems
Bad Odors:
Reason: Too many greens or lack of aeration.
Solution: Add more browns and turn the pile.
Cause: Dampness or greens being superior to the browns
Solution: Correct moisture content and add more greens.
Pests:
Cause: Food debris left above ground.
Solution: Cover food scraps with browns and use a closed lid.
Conclusion
It’s a rewarding, environmentally friendly activity that benefits not only your garden but also the planet. In this way, you can make waste from day-to-day living into a goldmine, shrink your ecological footprint, and get a thriving ecosystem in your garden. Whether starting small with a kitchen bin or going big with a backyard pile, every effort counts in building a sustainable future.